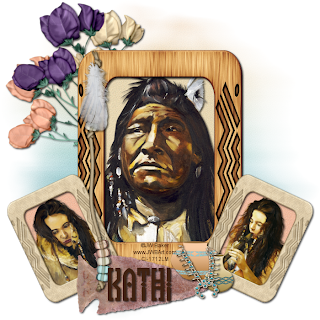
This tutorial was written on October 28, 2010 and is of my own imagination. Any resemblance to any other tutorial is pure coincidence. Please do not use the same images/tubes that I have unless you hold the appropriate license to do so.
Supplies Needed:
Tubes of choice. I am using the artwork of J W Baker. I had purchased his work while he was still with CILM.
Native Southwest scrapkit by Cari which can be purchased here. Thank you so much Cari for allowing me to use this awesome kit!!!!!!
Becky Mask 23 which can be downloaded here.
Font of choice. I used Totem.
Ok ... Let's get rockin!!!!!
Open a 700x700 blank canvas and flood fill with white if desired. We can resize later.
Open a frame of choice. I used frame 6. Paste as a new layer. Make a selection around your frame like so:
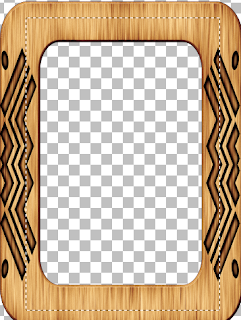
Open a paper of choice. Paste as a new layer. Selections/Invert and hit the delete key on your keyboard. DO NOT deselect.
Open your first tube of choice. Paste as a new layer. Move into place and hit the delete key on your keyboard. Selections/None.
Open a second frame of choice. I used frame 1. Paste as a new layer. Resize by 50%. Rotate to the left by 25. Move to the lower left corner of your main frame. Duplicate/Mirror.
With your freehand selection tool make a selection around your frames like so:
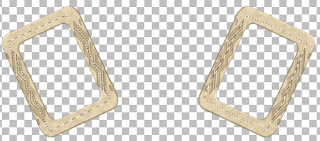
Selections Invert.
Open another paper of choice. Paste as a new layer and hit the delete key on your keyboard. Selections none.
Open your second tube of choice. Resize as needed and rotate to the left 25 degrees.
Make another selection on the left frame. Selections/Invert and hit the delete key on your keyboard. Selections none.
Repeat the above steps for the other frame.
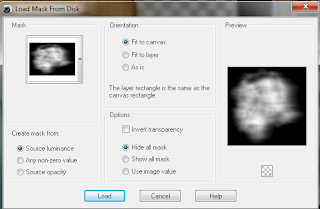
Open another paper of choice and send to the bottom of your layer palette. Apply the mask with these settings:
Merge group.
Open the flowers. Paste all three as new layers. Resize as needed and rotate to your liking. Merge them together and move then down in the layer palette so that they are just above the mask layer. See my tag as a reference.
Open the beads. Paste as a new layer and move to the top right of the main frame.
Open the feather. Paste as a new layer. Resize by 50 twice. Grab your freehand selection tool and make a small selection on the quill portion like so:
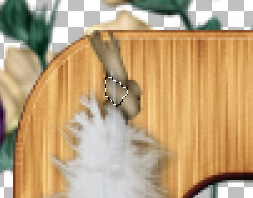
Hit the delete key on your keyboard. Selections/None.
Open both of the pots. Paste as new layers. Reize both by 20. Place on the lower right side of the frames. See my tag as a reference.
Open the necklace. Resize as needed. Move over to one of the pots (see my tag). Grab your freehand selection tool and make a selection on the necklace like so:
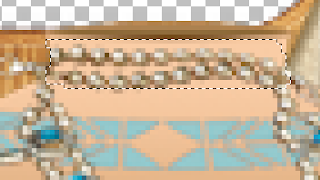
Hit the delete key on your keyboard. Selections None.
Open the arrowhead. Paste as a new layer and resize by 50. Move towards the left of your tag. See mine as a reference.
Add your name using your font of choice.
Drop shadow any and all layers that you like.
If you're going to resize do so now.
Add your copyright/watermark information in a clear and legible font.
And that's it! Hope you liked doing this tutorial.
Hugz






No comments:
Post a Comment